Unleashing the Power of WordPress: A Journey into Customization and Flexibility
July 28, 2023
The Top WordPress Security Threats and How to Defend Against Them
November 3, 2023In today's digital age, the security of your WordPress website is of paramount importance. WordPress, as one of the most popular content management systems in the world, is often a target for malicious activities.
To keep your site safe from hackers and vulnerabilities, it's crucial to implement robust security measures. In this article, we will discuss ten essential WordPress security tips to help safeguard your website and maintain its integrity.
Table of contents
- Keep Your WordPress Core, Themes, and Plugins Updated:
- Implement Two-Factor Authentication (2FA):
- Limit Login Attempts:
- Regular Backups:
- Install a WordPress Security Plugin:
- Change the Default "admin" Username:
- File Permissions and Security:
- Regular Security Audits:
- Wrap-Up
- About Us
- More About WordPress
- Weekly No-Spam Updates Coming Soon
Keep Your WordPress Core, Themes, and Plugins Updated:
1. The Core Matters
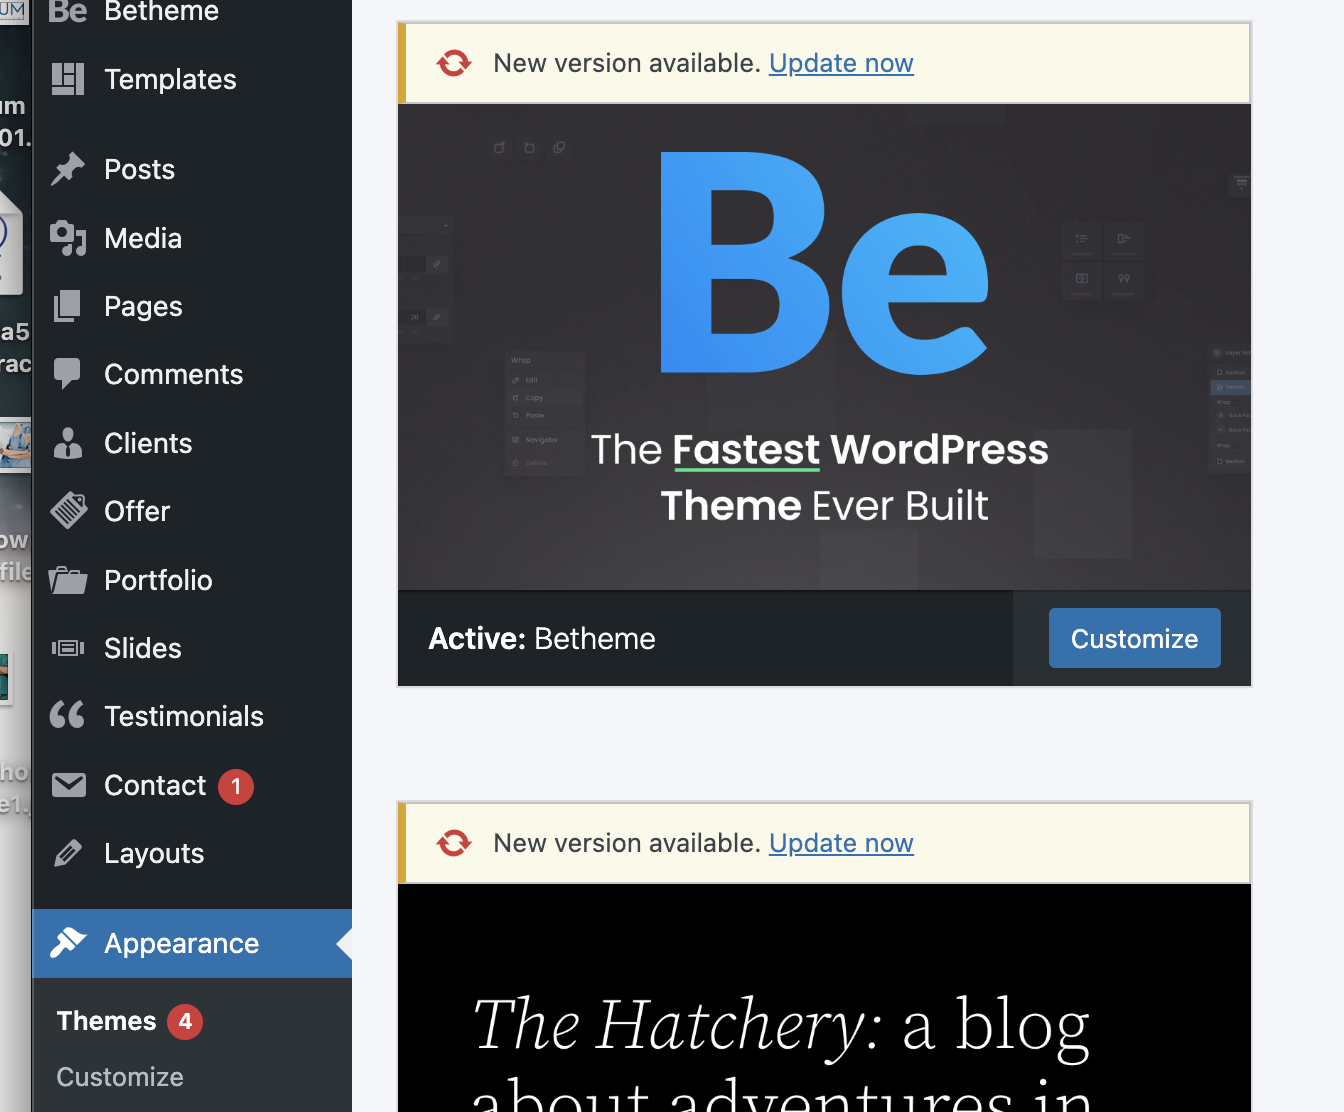
The WordPress core is the foundation of your website. It's where all the essential code resides, and as such, it's an attractive target for attackers. By keeping your WordPress core up to date, you're ensuring that your site is equipped with the latest security enhancements and bug fixes. Neglecting core updates can expose your site to potential threats, as hackers often target known vulnerabilities.
2. Themes - Not Just About Aesthetics
Themes are more than just templates for your site's appearance; they also contain code that can impact security. Theme developers frequently release updates to fix security issues and improve performance. Failing to update your themes leaves your website susceptible to vulnerabilities that attackers can exploit. Remember, a compromised theme can be a backdoor to your entire site.
3. Plugins - Functionality and Responsibility
Plugins extend the functionality of your WordPress site, which is undoubtedly one of its strengths. However, they also introduce potential security risks. Outdated plugins can expose your site to attacks. By regularly updating your plugins, you're applying patches that protect your website against known vulnerabilities.
Use Strong and Unique Passwords:
Length Matters:
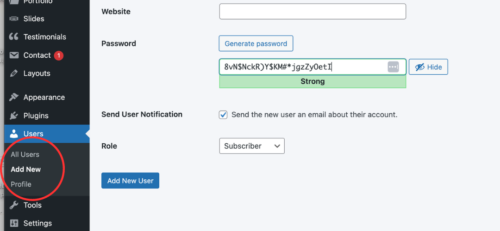
Password length is a fundamental factor in its strength. Aim for a minimum of 12 characters, and consider using even longer passwords for critical accounts.
Use a Mix of Characters:
A strong password includes a combination of upper and lower-case letters, numbers, and special characters. This complexity makes it more resistant to brute-force attacks.
Avoid Common Words:
Never use easily guessable passwords like "password," "123456," or "admin." These are the first combinations hackers try.
No Personal Information:
Refrain from using personal information like your name, birthdate, or the name of your website in your password.
Unpredictable Phrases:
Create a memorable, yet unpredictable phrase by combining unrelated words or phrases. For example, "BlueSky#42*Giraffe!"
Implement Two-Factor Authentication (2FA):

2FA is a security mechanism that requires users to provide two distinct authentication factors before gaining access to their accounts. These factors typically fall into three categories:
Something You Know: This is typically a password, a personal identification number (PIN), or answers to security questions.
Something You Have: This could be a physical device, such as a smartphone, security token, or smart card.
Something You Are: This category involves biometrics like fingerprint or retina scans.
By requiring two factors, 2FA significantly enhances security, as even if an attacker manages to obtain your password, they still won't be able to access your account without the second factor.
Setting Up 2FA for Your WordPress Website
Here's a step-by-step guide to setting up 2FA for your WordPress site:
1. Install a 2FA Plugin:
Begin by installing a reliable 2FA plugin. Some popular options include Google Authenticator, WP-2FA by Melapress or Duo Two-Factor Authentication.
2. Activate the Plugin:
After installation, activate the plugin from your WordPress dashboard.
3. Configure the Plugin:
Access the settings of the 2FA plugin. Typically, you'll find it in the "Settings" or "Security" section of your WordPress dashboard. Follow the plugin's instructions for configuration. This may involve linking the plugin to an authentication app, such as Google Authenticator or Authy. Generate a QR code that you can scan with your chosen authentication app to link it to your WordPress site.
4. Test the 2FA Setup:
To ensure everything is working as intended, log out of your WordPress account and then attempt to log back in. You should be prompted to enter the 2FA code generated by your authentication app.
5. Keep Backup Codes:
Many 2FA plugins allow you to generate and save backup codes. These codes can be used in case you lose access to your 2FA device.
6. Monitor and Maintain:
Regularly review your 2FA settings to ensure they're up to date and functioning correctly. Educate your users or team members about the importance of 2FA and how to use it effectively.
Limit Login Attempts:
Limiting login attempts is an effective strategy to combat brute force attacks. By default, WordPress allows unlimited login attempts, making it easier for hackers to guess the correct login credentials through sheer persistence. When you set up a limit on login attempts, the system will automatically lock out users or IP addresses that exceed the specified number of failed login attempts, effectively thwarting these attacks.
How to Set Up Limit Login Attempts
Here's a step-by-step guide on how to set up limit login attempts for your WordPress website:
Step 1: Install a Security Plugin
To implement this feature, you'll need to install a reputable security plugin. One of the most popular choices is "Wordfence Security," but you can explore other security plugins like "SolidWP" or "All In One WP Security & Firewall."
Step 2: Configure the Plugin
After installing your chosen security plugin, navigate to its settings and find the section related to login security. You'll typically see options for limiting login attempts and setting lockout parameters.
Step 3: Define the Settings
Configure the settings to align with your security needs. You can specify the maximum number of login attempts before a user or IP address gets locked out. Additionally, you can set the lockout duration, which determines how long a user or IP remains locked out.
Step 4: Test the Feature
Once you've set up limit login attempts, it's a good practice to test the feature to ensure it's functioning as expected. Try entering incorrect login credentials a few times to see if the lockout occurs.
Regular Backups:

Setting up regular backups for your WordPress site is a straightforward process that greatly enhances your WordPress security. Here's how you can do it:
1. Choose a Backup Solution:
There are several backup plugins available for WordPress, such as UpdraftPlus, and VaultPress (by Jetpack). Choose one that fits your needs and budget.
2. Configure Backup Settings:
Install and configure your chosen backup plugin. Schedule regular automated backups - daily, weekly, or monthly, depending on the frequency of changes on your site.
3. Store Backups Securely:
Ensure your backups are stored in a secure location. This could be offsite cloud storage, an external server, or even a dedicated backup service provided by your hosting provider.
4. Test Restorations:
Periodically test your backups by restoring your website to ensure that the process works smoothly. This will give you confidence that you can recover your site if needed.
5. Monitor and Update:
Regularly check that your backups are running as scheduled and verify that the backup files are accessible. Keep your backup solution up to date to benefit from the latest security enhancements.
Install a WordPress Security Plugin:
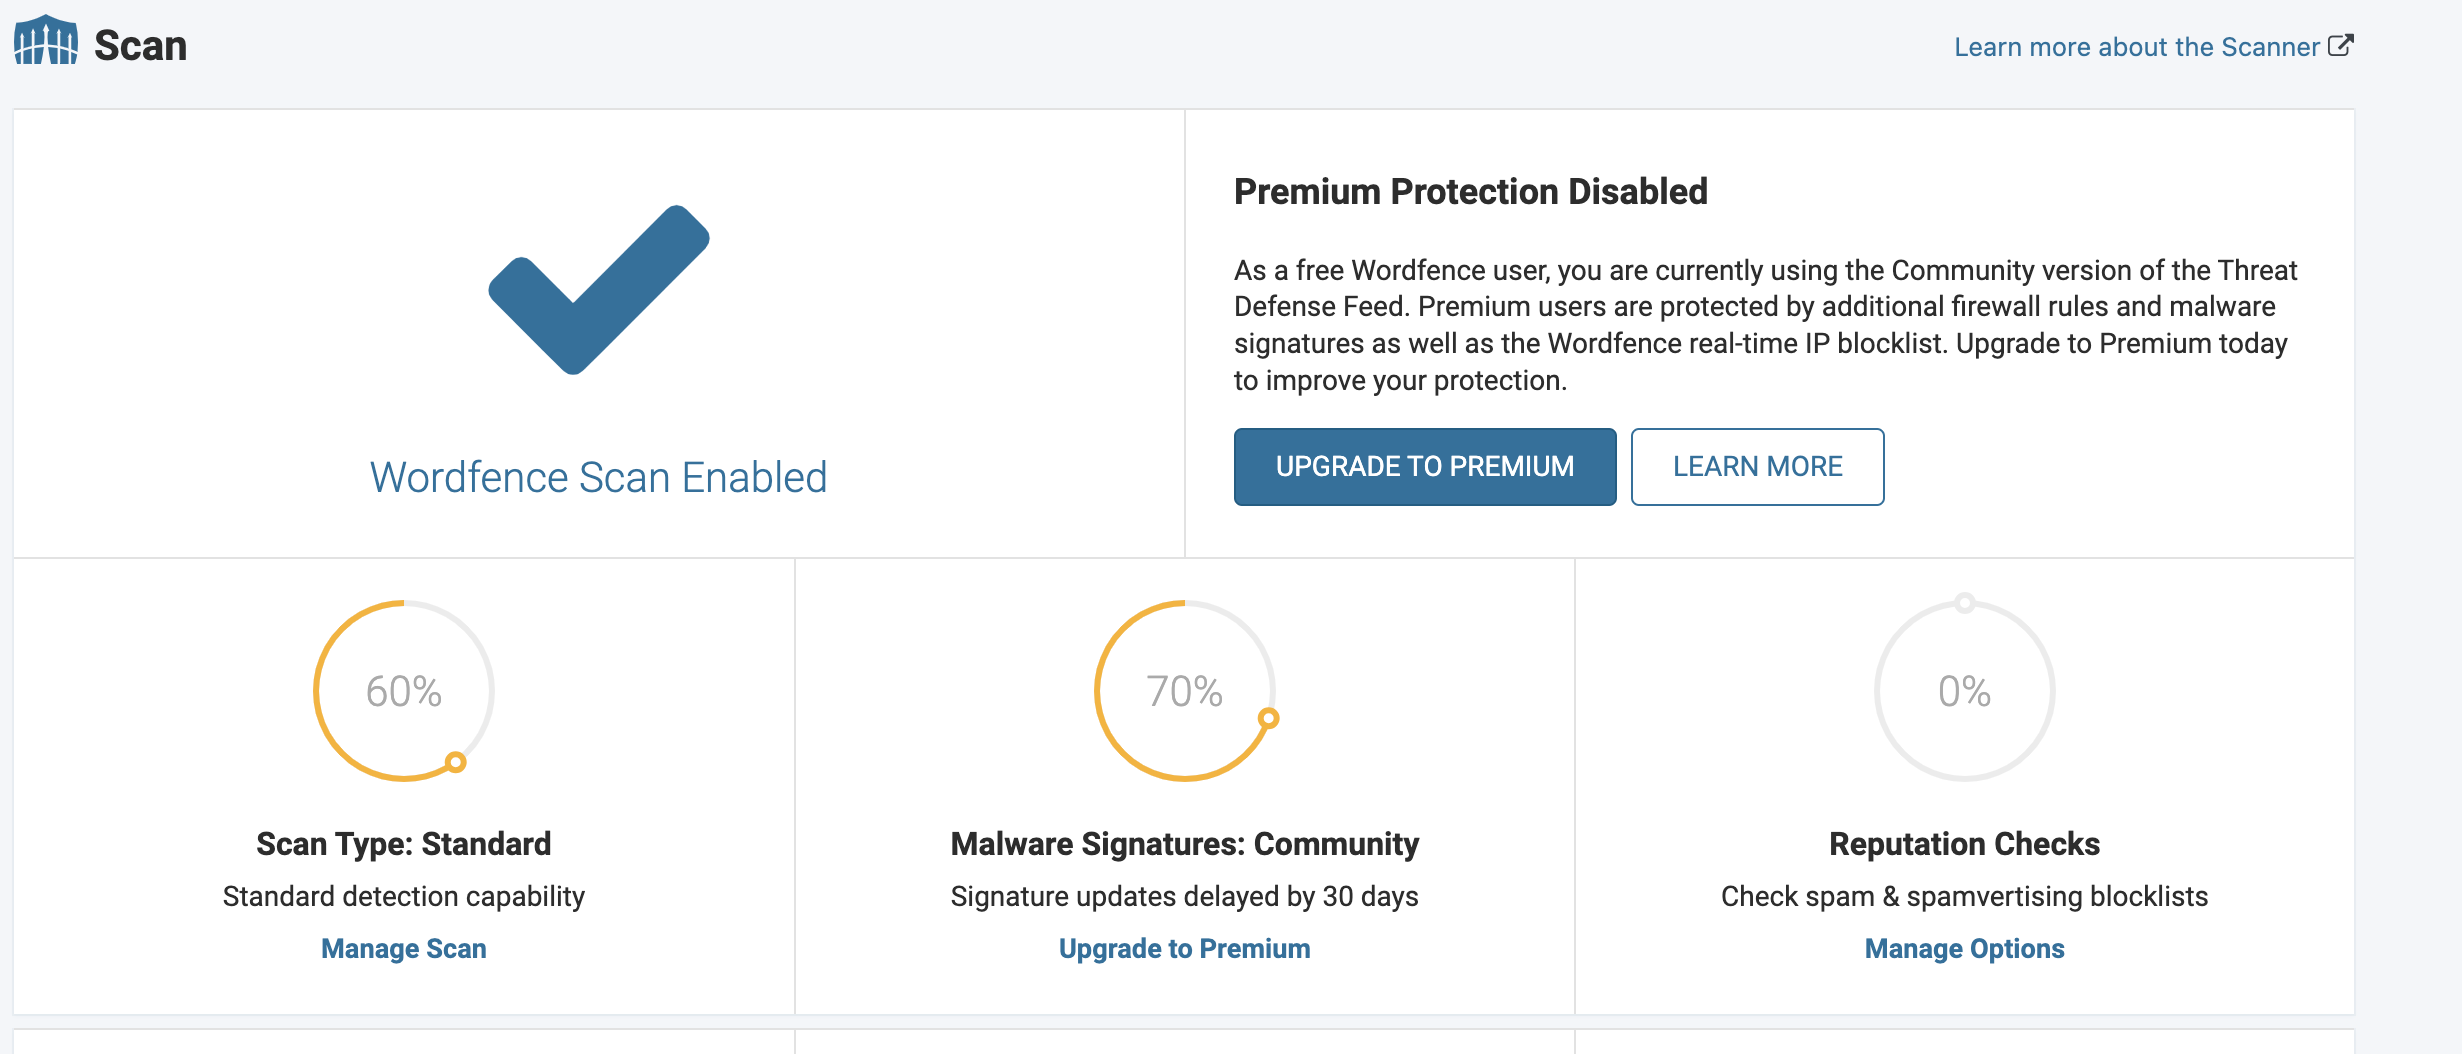
Now, let's get into the nitty-gritty of installing and configuring a security plugin for your WordPress website.
1. Choose the Right Security Plugin:
Before you begin, research and select a reputable security plugin. Some popular choices include Wordfence, Sucuri, and Solid Security.
2. Installation:
Log in to your WordPress dashboard. Navigate to "Plugins" and click on "Add New." In the search bar, type the name of your chosen security plugin. Click "Install Now" and then "Activate" to enable the plugin.
3. Initial Configuration:
Once the plugin is activated, follow these steps: Go to the plugin's settings (usually found in the WordPress dashboard under "Settings" or "Security"). Review the default settings and adjust them to your requirements.
4. Enable Firewall and Monitoring:
Activate the firewall feature to block malicious traffic. Enable real-time monitoring for suspicious activity on your site.
5. Scan Your Website:
Initiate a full security scan to detect any vulnerabilities or malware. Follow the plugin's recommendations to address any issues found during the scan.
6. Brute-Force Protection:
Configure settings to limit login attempts to prevent brute-force attacks. Set up strong password requirements for users.
7. Regular Updates:
Ensure the security plugin is regularly updated to protect against the latest threats.
8. Additional Features:
Depending on your chosen plugin, explore additional features like two-factor authentication, site hardening, and email alerts.
Change the Default "admin" Username:
When you install WordPress, the default administrator username is often set to "admin." This is a widely known fact among hackers and malicious bots that target WordPress sites. Using the default username makes it easier for attackers to launch brute-force attacks, attempting to guess your password and gain unauthorized access to your website.
Changing the default "admin" username is a straightforward process. Here are the steps to follow:
Step 1: Create a New User
Log in to your WordPress dashboard using the "admin" account. Go to the "Users" section and click "Add New." Create a new user with Administrator privileges. Be sure to choose a username that is unique and not easily guessable.
Step 2: Log Out and Log Back In
Log out of your WordPress dashboard. Log back in using the new username you created in the previous step.
Step 3: Delete the Old "admin" Account
Go to the "Users" section. Hover over the old "admin" account and click "Delete." When prompted, assign the old posts to the new username you created.
Step 4: Update Content and Plugins
If you have posts, pages, or plugins that were linked to the old "admin" username, update them to the new username.
File Permissions and Security:
File permissions dictate who can read, write, and execute files on your server. In the context of WordPress, these permissions play a critical role in maintaining a secure website.
Each file and directory in your WordPress installation has an associated set of permissions that determine what actions users or processes can perform on them.
To enhance your WordPress security, consider these best practices regarding file permissions:
1. Limit Access:
Only grant necessary permissions. Avoid setting directories and files to 777 (world-writable) unless it's absolutely required, and even then, revert them to more secure settings once the task is completed.
2. Regular Auditing:
Periodically audit your file permissions to ensure that they remain appropriately configured. Changes in configurations or new plugins or themes can sometimes alter these settings.
3. Ownership:
Ensure that files and directories are owned by the correct user and group. The owner should be your web server user (e.g., www-data or apache).
4. Use Secure Hosting:
Choose a reputable hosting provider with robust security measures and strict server configurations to mitigate potential vulnerabilities.
Regular Security Audits:

To effectively conduct WordPress security audits, consider the following best practices:
Regularity:
Perform security audits at regular intervals, whether quarterly, biannually, or annually, depending on the nature and complexity of your website.
Professional Assistance:
Consider hiring a cybersecurity expert or using reputable security plugins to conduct in-depth audits.
Test Backups:
Always ensure that you have up-to-date backups before initiating an audit. This provides a safety net in case anything goes wrong during the audit.
Update Everything:
Ensure that your WordPress core, themes, and plugins are up to date before initiating an audit. Outdated components can be vulnerable.
Multi-Layered Security:
Implement a multi-layered security strategy that includes firewalls, malware scanning, login protection, and more.
Wrap-Up
Protecting your WordPress website is an ongoing process, and these ten essential security tips can significantly reduce the risk of security breaches.
Implementing a combination of these strategies will create a robust defense against potential threats, helping you maintain the integrity and functionality of your site. Remember, staying vigilant and proactive in your security efforts is the key to a safe and secure WordPress website.
About Us
We Share Information For Free
Thanks for the read, if you'd like to continue your journey with SWC we have a newsletter coming soon.
The plan is to keep the newsletter to a weekly maximum - creating something readers are excited to receive instead of daily marketing emails.
Sign up at the bottom to receive a notification when our newsletter is live!
We Take On Projects
Have you wondered how we can create such relevant up-to-date articles?
Not only do we write about topics like marketing, web development, business automation, and more - but we do this for a living.
We run and operate Imperium Marketing Solutions, a premium-based Digital Marketing & Business Automation Company based out of Florida, USA.
If you or your business is interested in projects, consulting, or maintenance from us - please fill out our Contact Form on the Imperium Website and we will reach out to you.
More About WordPress
Weekly No-Spam Updates Coming Soon
Sign up and you'll be notified when our newsletter goes live!


